
Blog
Essential Tools for Installing a Garbage Disposal
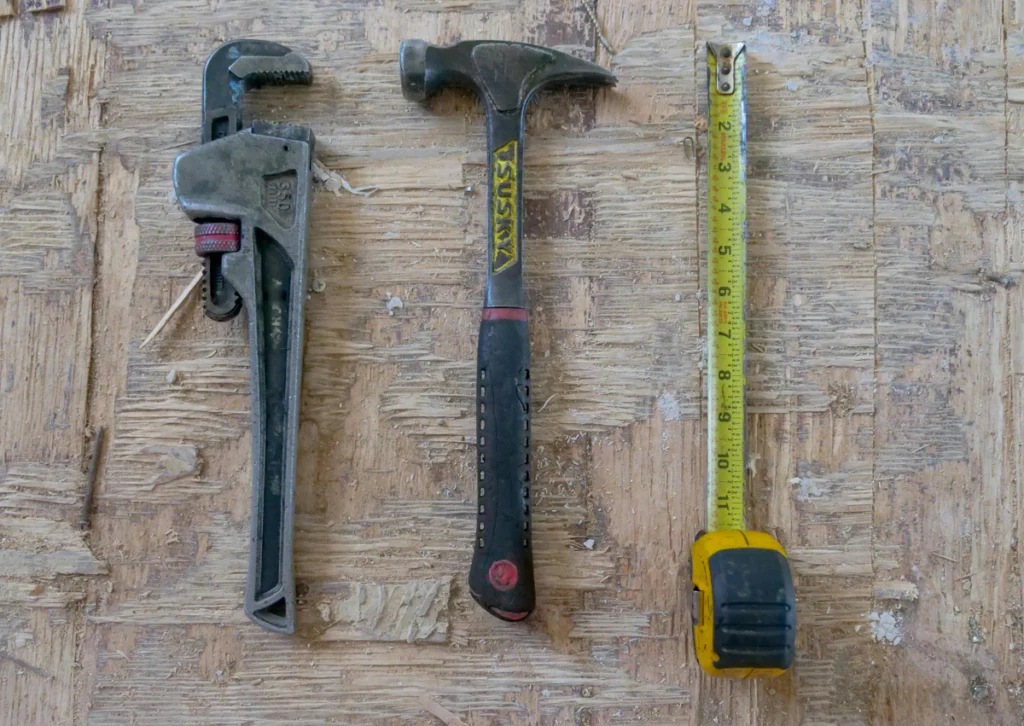
Most people looking this up are replacing a disposal that finally quit, not installing one in a brand new kitchen. That matters, because a replacement takes a few tools a fresh install doesn’t. Get the right gear on the counter first and the job goes faster and safer. Skip one, and you end up with a mess under the sink or a unit that leaks a month later. Here’s the full list, from the plumbers at 1st Action in Loveland. If a faucet keeps dripping, see how we handle faucet replacement.
Short Answer: Tools You’ll Need for Garbage Disposal Installation
Here’s the short version: you’ll need a Phillips and flathead screwdriver, an adjustable wrench, plumber’s putty, fittings, and a hammer with a punch or dowel for knocking out plugs. If the unit’s not pre-wired, you’ll also need wire nuts and a voltage tester to handle the electrical connections safely.
List of Essential Tools and Their Purpose
Now, let’s break down the tools you’ll need and what each one’s for:
- Screwdrivers (Phillips and flathead): You’ll use these to tighten and loosen screws on both the disposal unit and the mounting bracket under the sink. A Phillips screwdriver works for most screws, but it’s always handy to have a flathead in case you run into different screw types.
- Adjustable Wrench: This is key for tightening the plumbing connections, like the drain pipe and mounting assembly. Make sure everything is snug, but don’t overdo it—you want it tight enough to avoid leaks, but not so tight that you crack a pipe.
- Plumber’s Putty: This stuff creates a watertight seal between the sink and the disposal. You’ll need to apply it around the drain opening to prevent leaks.
- Hammer and Punch (or Wooden Dowel): If you’re connecting a dishwasher to the disposal, you’ll need to knock out the small plug in the disposal’s inlet. A hammer and punch (or dowel) get this done quickly.
- Wire Nuts and Voltage Tester: If your disposal isn’t pre-wired, you’ll need these for the electrical connections. A voltage tester ensures the power is off before you start messing with wires—trust me, you don’t want to skip that step.
Extra Tools You Need for a Replacement (Not a Fresh Install)
Pulling out an old disposal is its own small job, and it needs a few things the list above doesn’t cover. Here’s what to have ready before you loosen anything:
- A bucket and a few old towels. The old unit and the drain trap are both still holding water. Put the bucket underneath before you disconnect anything, not after.
- Channel-lock pliers. Slip nuts on the drain trap and the discharge tube are usually hand-tight plus age. Pliers get them moving without rounding them off.
- A putty knife. The old sink flange leaves a ring of hardened plumber’s putty behind. Scrape all of it off, because new putty won’t seal over old putty.
- A hacksaw or tubing cutter. The discharge tube on the new unit rarely lines up with the old drain on the first try. You’ll usually need to trim it.
- The hex wrench that came in the box. Most disposals ship with a small Allen-style wrench that fits the bottom of the unit. It’s what frees a jam, and it’s also the first thing people lose. Set it aside before the box goes out.
- Safety glasses and a flashlight. You’re on your back looking up into a cabinet. Both earn their place.
One question that comes up a lot: what size wrench do you need? For the plumbing connections, an adjustable wrench covers everything on a standard sink. For the disposal itself you don’t pick a size at all, you use the hex wrench that shipped with the unit. Protect your basement from water by learning about a sump pump that works when you need it.
If you open the cabinet and find corroded pipes, a drain that won’t seat straight, or wiring you’re not sure about, that’s a good place to stop. Our skilled plumbers and HVAC contractors work all over Loveland and Northern Colorado, and a disposal swap is a short visit. Give us a call and we’ll take it from there. For stubborn blockages, see how we handle clogged drains in Loveland homes.
Why Having the Right Tools Matters
Having the right tools on hand can make or break your installation—literally. If you don’t have a proper seal with the plumber’s putty or you overtighten a pipe with the wrong wrench, you’re setting yourself up for leaks and headaches. Plus, safety is a big deal when it comes to the electrical work. A voltage tester and proper wire nuts can prevent serious hazards, like electrical shorts or shocks. In short, the right tools mean a smoother, faster install, with fewer surprises along the way. Skimp on them, and you’re asking for trouble down the road. Small drips can turn into costly damage, and our team can track down hidden leaks.
Final Thoughts on the Best Tools for Garbage Disposal Installation
To wrap it up, the key to a successful garbage disposal installation lies in having the proper tools. With the right equipment, the job is faster, safer, and far less frustrating. Don’t try to cut corners with makeshift tools. You’ll only create more work for yourself.
Whether you’re doing this yourself or you’d rather hand it off, having everything on the counter first is what keeps the job short. And if you’d rather not spend your Saturday under the sink, we’re a family-owned shop based in Loveland, serving the Front Range since 2018. Plumbing and HVAC both, under one roof. Call us and we’ll get it swapped out.