
Blog
Choosing the Right Plumbing Fittings for Disposal Units
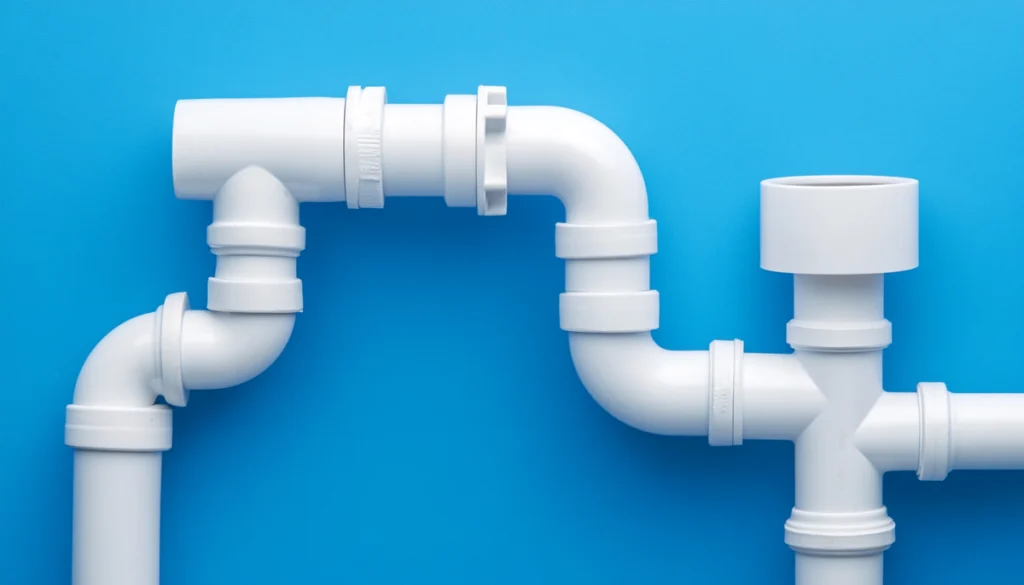
Choosing the right plumbing fittings for your garbage disposal might seem like a small detail, but trust me, it’s crucial for ensuring a smooth installation. The last thing you want is a leak or a poor fit causing you problems down the line. Having the right tools and the best fittings in place makes all the difference between an efficient, hassle-free job and one that leaves you calling a plumber later. Let’s break down what you need to get the job done right.
Short Answer: What Fittings Do You Need for a Disposal Unit?
You’ll need a few key fittings: a tailpiece to connect the sink drain, a P-trap to prevent sewer gases from entering, and sometimes a branch tailpiece for dishwasher connections. Add in proper seals like gaskets or plumber’s putty to keep everything leak-free, and you’re good to go.
Do All Garbage Disposals Have the Same Size Fittings?
No, not all garbage disposals have the same size fittings. The most common size for disposal units is 3 1/2 inches, which fits most standard kitchen sinks, but it’s not always universal. If you’ve got an older sink or something custom-made, you might run into a different size. That’s where you’ll need to double-check the specs before you buy any fittings. A kitchen remodel often means moving water and drain lines, which our team can handle.
Most of the time, the drain outlet on disposals is designed to connect with a 1 1/2-inch pipe, but depending on your plumbing setup, you might need adapters or special fittings to get everything aligned properly. If you’re connecting a dishwasher, you’ll also need to make sure the disposal’s inlet is compatible. Bottom line—don’t assume everything will fit perfectly out of the box. Measure twice, buy once.
Do I Need Plumber’s Putty to Install a Garbage Disposal?
In most cases, yes, plumber’s putty is your best bet when installing a garbage disposal, especially around the sink flange. It creates a watertight seal that prevents leaks from forming between the disposal and the sink. You don’t want water dripping under your sink, and plumber’s putty is an easy way to avoid that headache. If a faucet keeps dripping, see how we handle faucet replacement.
That said, some newer models come with rubber gaskets that can replace putty and make the installation even easier. It’s always a good idea to check your disposal’s manual to see if putty is recommended or if the included gasket will do the job just fine.
If You’re Tying In a Dishwasher, Knock Out the Plug First
This one catches people constantly, and it’s a five second job that turns into a service call when it gets missed. Brand new disposals ship with a solid plug sitting inside the dishwasher inlet, the little nub on the side of the unit. It’s there so the inlet doesn’t leak on the units that never get a dishwasher hooked to them. If you connect your dishwasher drain hose without knocking that plug out, water has nowhere to go. The dishwasher backs up, and you get standing water in the bottom of it and a hose that looks fine from the outside.
Getting it out is simple. Before you mount the disposal, lay it on its side, put a screwdriver in the inlet, and tap it through with a hammer. Then reach into the grinding chamber and fish the plug out, because it falls in there and it will not grind. Do this on the bench, not after the unit is already hanging under your sink.
The other half of the job is the right hose clamp on the dishwasher connection. A loose clamp there weeps slowly, and under a cabinet you usually don’t find it until the base is already soft.
Types of Fittings You’ll Need
When it comes to installing a garbage disposal, there are a few essential fittings you’ll need to keep things running smoothly. First, the tailpiece connects your sink drain to the disposal. Then, you’ve got the P-trap, which helps prevent nasty sewer gases from creeping back up into your kitchen. If you’ve got a dishwasher, you’ll need a branch tailpiece to connect the dishwasher drain to the disposal. Don’t forget the gaskets and seals, which are critical for leak prevention. And if your plumbing has different pipe sizes, adapters will be necessary to make sure everything lines up perfectly. Our sewer repair page covers sewer line repair and replacement for homes in Loveland and Northern Colorado.
What Changes If You Have a Double Bowl Sink
A single bowl is straightforward. The disposal discharge elbow turns into the P-trap and out to the wall, and you’re done. A double bowl is where fitting lists start to differ, because now you have two drains and one trap arm to share.
The usual setup runs the second bowl’s tailpiece across to a tee or a wye, then down into a single P-trap, with the disposal discharge tying into that same run. Two things matter here. The tee has to sit below the disposal outlet so gravity is working with you, and every horizontal run needs a little fall toward the trap. Run it dead level and you get a slow drain that nobody can explain.
The mistake worth avoiding is putting the disposal discharge into the tee above the other bowl’s drain line. When you run the disposal, ground food and water shoot up into the clean bowl. It’s a fittings problem, not a disposal problem, and it’s why a double bowl install usually needs a few extra pieces and a dry fit before anything gets glued or tightened. If your sink is already draining slow before the disposal goes in, that’s a sign the trap arm or the line past it needs attention first. Our team handles drain cleaning and leak detection across Northern Colorado, and it’s worth sorting out before you add a unit that pushes more through the same pipe.
Final Thoughts on Fittings for Disposal Units
Getting the fittings right is most of the job. Measure before you buy, dry fit everything before you tighten anything, and check the knockout plug if a dishwasher is going in. Do that and the install is usually uneventful, which is exactly what you want from a disposal.
If you get under there and the pipes don’t line up, or the fittings you bought don’t match what’s actually on your sink, that’s a normal place to stop. We’re 1st Action Plumbing Heating and Air, family-owned and based in Loveland, serving Northern Colorado and the Front Range since 2018 with plumbing and HVAC under one roof. Our skilled plumbers deal with disposal drain assemblies all the time, and a kitchen sink you can’t use is usually a time-sensitive matter. Whether you finish it yourself or call in a pro, contact one of our plumbing experts if you want a second set of eyes on it.